
Student Academic Management (Teachers)
Attendance, Evaluation & Reports Guide
Teachers: Filling in attendance and evaluating your students
ANGLO uses the name SAM for the documents that are used for Student Academic Management
This guide explains how to use the ‘Student Academic Management’ (SAM) Google Sheet, a link to which your Teaching Manager will send you. This document is used to record your students’ attendance, evaluation, and class profile in one single place.
🔎 Overview of the SAM document
Your Teaching Manager will send you a link to a SAM Google Sheet for each course you will teach: one document for group A and one document for group B for each student intake. You can easily identify this information from the title of the document, for example:🔴 Group A Turn 1 SAM
Or🟢 Group B Turn 2 SAM
⚙️ DASH
When you open the document, you should see the ‘⚙️ DASH’ sheet. Click to view it.
Here you will see the names of the various classes, the level of course material the class will follow, and the name of the teacher assigned to each class. You will also see a classroom assignment* and a link to this document should you need to read it again.
*It is possible that classrooms have not been assigned when you first receive the link to the document. Consult your Manager.

In the example above there are groups: each one has a level, a teacher, a classroom, number of students and the age range of the students.
Class Sheet: Class Info
You can easily identify the name of the group assigned to you. Locate your sheet at the bottom of the document. It will have the group’s name on it (in this example we are using Josh who is teaching Austen group). Click to select it:

You'll find the main information about the class in the top left:
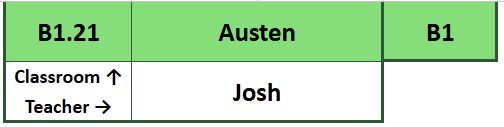
Here you can see confirmation of the classroom (B1.21), group name (Austen), level (B1), group B (the green colour), and the teacher (Josh).
Class Sheet: Student Info
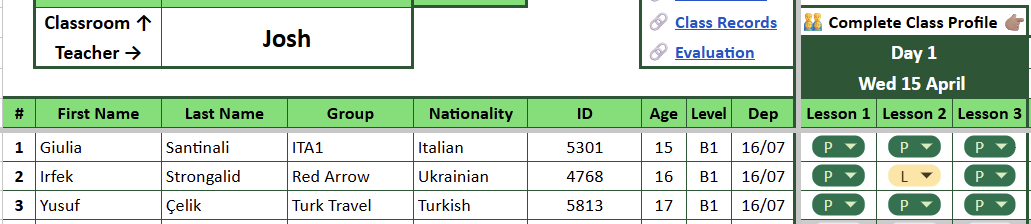
Your students are located in rows 7 to 26 (depending on the number of students in your class*)
*The maximum number of students is 15 (there is space in the register for 20. This is in case students are moved from one class to another. More on this below)
For each student in your class you have their full name, group/group leader name, nationality, ID, age, level and departure date.

Since the Student Academic Management document covers 4 aspects of student management, convenient links are also placed in a prominent location. Simply hover, and click the link to be taken to the part of the sheet you are looking for.
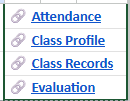
We'll delve into more detail on each of these 4 items in the next sections.
🙋♂️ Attendance
ℹ️ Click on the ‘🔗 Attendance’ to jump across to the 🙋♂️ Attendance section.
Alternative, scrolling to the right, the first section next to your students' names is the Attendance section.
For each day of the course you need to complete the attendance for each of the 3 lessons.
Fill in the attendance for each learning session with a 'P' for present, a 'L' for late or an 'A' for absent. Inform your TM 10 minutes into class if you have any absent students.

Inform your TM 10 minutes after the class begins if you have any absent students
Each day is marked with the date, and any other tasks to be completed on that day. In the example below, today is Wednesday 15th April and the attendance for that day needs to be taken, as well as completing the Class Profile.
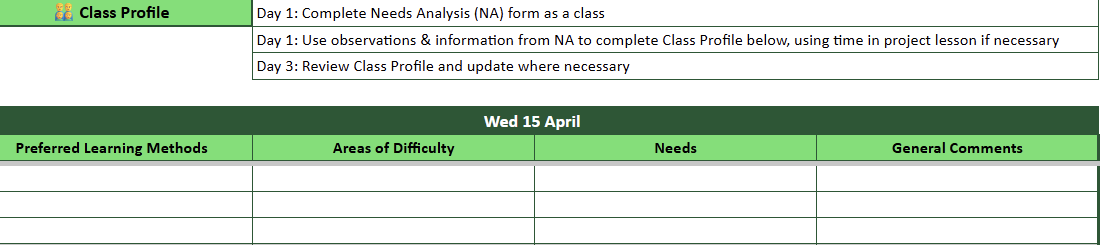
👨👨👦👦 Class Profile
ℹ️ Click on the ‘🔗 Class Profile’ to jump across to the 👨👨👦👦 Class Profile section.
The Class Profile needs to be completed on Day 1, using the Needs Analysis and your own observations. It needs to be reviewed on Day 3 (and changed if necessary).
📝 Class Records
ℹ️ Click on the ‘🔗 Class Records’ to jump across to the 📝 Class Records section.
At the end of the 3rd lesson each day, fill in the Class Records (rows 29-32) with information about what you have covered in class.
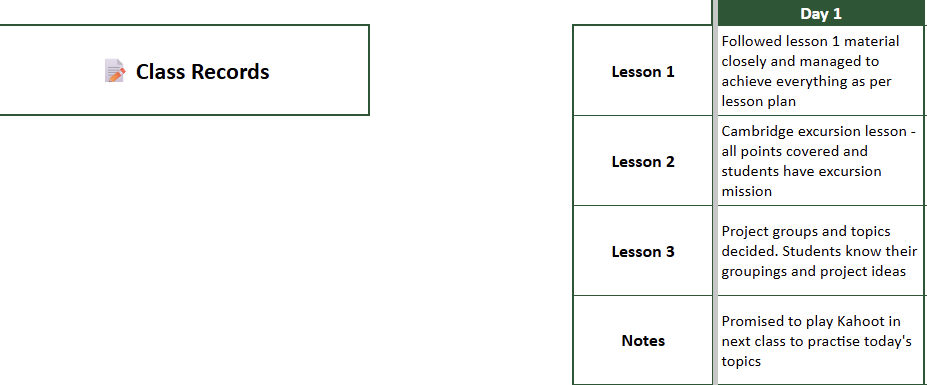
Class Records will be really beneficial if another teacher has to cover your class and as a reminder for yourself
📋 Evaluation
ℹ️ Click on the ‘🔗 Evaluation’ to jump across to the 📋 Evaluation section.
On day 4 and day 8, complete the progress report for your class.
Enter the test result out of 10, then assign Excellent, Good or Needs Improvement for each of the areas indicated. Finally, leave your comments.
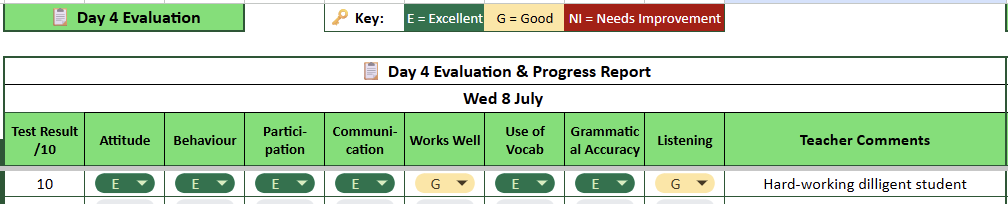
The image above shows the Day 4 Evaluation section but the Day 8 one is identical.
The cell space for leaving comments is really small. TIP: Select the comments cell with your mouse, then type in the formula bar towards the top of the screen.
📜 Certificate Grades
On Day 5 the SAM will indicate to you that it's time to indicate students' certificate grades
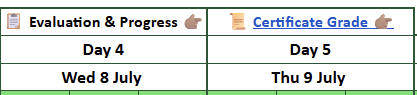
Click the Certificate Grade link or scroll to the right side of the SAM.
Enter P (Pass), M (Merit), D (Distinction) for each student.
TIP: When a Certificate Grade cell is selected, press Return on your keyboard. You can then use the arrow keys to select P, M or D. Press Return again to make the selection and automatically move to the cell (student) below,
🆘 Help! (FAQs)